 EN
EN

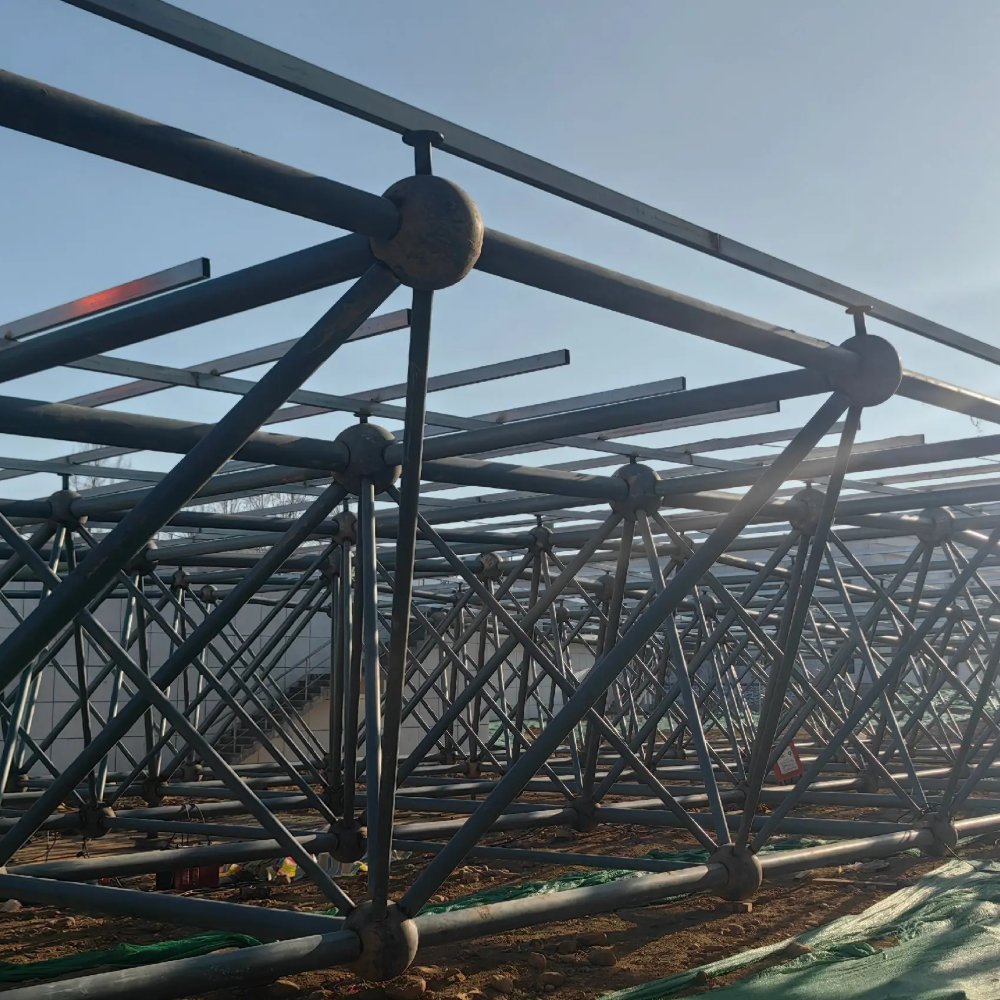
Start with a Solid Plan and the Right Measurements
Putting up prefabricated steel roof trusses is not the kind of job where you just wing it and hope for the best. The whole process starts long before the first truss gets lifted. You need a set of approved shop drawings that show exactly where each truss sits, what the spacing should be, and how the connections work. Walk the building perimeter and double check that the bearing points on the walls or columns are level and sitting at the correct elevation. Even a small deviation here can throw the entire roof plane out of alignment later. Mark the truss locations clearly on the top plate with a permanent marker or chalk line. Use a tape measure and go slowly. When the marks are accurate, the trusses will land exactly where they belong. When they are sloppy, everything downstream fights you.
Handle and Stage the Trusses with Care
Prefabricated steel roof trusses arrive on site as engineered components, not as raw material. Treat them that way. Unload them carefully using a crane or forklift with proper spreader bars so the trusses do not bend or twist under their own weight during lifting. Store them flat on level blocking that keeps the steel off the ground and away from standing water. If the site is exposed, cover the trusses with tarps but leave the sides open for airflow so condensation does not build up underneath. Before any lifting starts, inspect each truss visually. Look for dents, bent chords, or any sign of shipping damage. A truss with a kinked bottom chord will not perform as designed, and catching that on the ground is infinitely easier than discovering it twenty feet in the air.
Set the First Truss and Brace It Firmly
The first truss you install sets the tone for the entire roof. It has to be plumb, straight, and absolutely locked in place before anything else happens. Lift the truss into position slowly, using tag lines to guide it so it does not spin in the wind. Once the ends land on the bearing points, check it with a level on both axes. When the truss reads perfectly plumb, install temporary bracing immediately. Do not skip this step or do it halfway. Use long braces staked to the ground or anchored to a solid part of the structure. A freestanding truss catches wind like a sail, and without proper bracing, it can fold over in a gust. That is dangerous for the crew and expensive for the project. Temporary bracing stays in place until enough permanent framing connects the trusses into a stable system.
Work Through the Remaining Trusses in Sequence
With the first truss braced solid, move on to the next one in the layout sequence. Most designs call for prefabricated steel roof trusses to be spaced at regular intervals, typically two to four feet apart depending on the load requirements. Use a spacer bar or a gauging rod cut to the exact spacing to set each subsequent truss. This tool removes the guesswork and keeps the layout consistent from end to end. After placing each truss, install permanent bracing or purlins between it and the previous truss before moving on to the next one. This creates a continuous structural diaphragm that gains strength as it grows. Craning in all the trusses first and then connecting them later is a common shortcut that leads to alignment problems and extra work correcting twisted frames.
Connect Purlins and Finalize the Assembly
Once all the prefabricated steel roof trusses stand in place and the temporary braces are still holding firm, the next step is installing the roof purlins. Purlins run perpendicular to the trusses and serve two purposes. They tie the truss system together into one rigid unit, and they provide the attachment surface for the roof sheeting. Bolt or screw the purlins to the truss top chords at every intersection, following the spacing called out in the engineering drawings. As the purlins go on, recheck the alignment of the trusses. Small adjustments can still be made before the roof sheets lock everything in position. Once the purlin installation is complete and the truss frame forms a solid grid, the temporary bracing can come down. The roof sheeting goes on next, and from that point forward the entire assembly works as one unified structure.
Inspect and Touch Up Before Closing Up
Before the roofing sheets cover everything, take time for a final inspection of the prefabricated steel roof trusses. Walk the entire frame and check every bolted connection. Look for fasteners that did not get fully tightened or missed spots where a bolt should be. Check the truss alignment one last time with a string line along the ridge and the eaves. Any truss that is out of plane will telegraph through the roof sheeting and become permanently visible. Now is also the moment to touch up any scratches or nicks in the steel with zinc rich paint. Scratches that go through the protective coating will rust over time and compromise the durability of the roof structure. This touch up work takes minutes but adds years to the service life of the roof system.
Getting prefabricated steel roof trusses installed correctly comes down to preparation, patience, and following the sequence. Measure carefully, handle the trusses gently, brace the first one like your project depends on it, and build the system piece by piece. A roof put together this way will stand straight and perform reliably for decades.